Step-by-Step Guide to Restoring Old Paver Pathways
Over time, even the most expertly laid paver pathways can succumb to the elements. Between shifting soil, persistent weed growth, and heavy seasonal moisture, pathways across Ipswich often develop sunken sections, faded surfaces, and loose jointing sand. Fortunately, you do not need to invest in a complete replacement to bring your garden paths back to life. Restoring an existing paver walkway preserves the original character of your property while saving significant time and expense.
Whether you are dealing with traditional clay brick or concrete block pavers, following a methodical restoration process will revitalise your pathway, improve drainage, and enhance kerb appeal for years to come.
Assessing the Condition of Your Pathway
Before lifting a single brick or purchasing supplies, inspect the entire length of the path. Look for structural issues such as poor sub-base compaction, tree root intrusion, or standing water. In Ipswich, where ground conditions frequently transition between heavy clay and sand, ground heave and settlement are common culprits behind uneven pavers. Identifying these problem spots early ensures that you tackle the root cause rather than merely masking surface imperfections.
The 4-Step Pathway Restoration Process
Restoring a pathway requires patience, the right materials, and systematic execution. Follow these core steps to take your pathway from tired and uneven to crisp and stable:
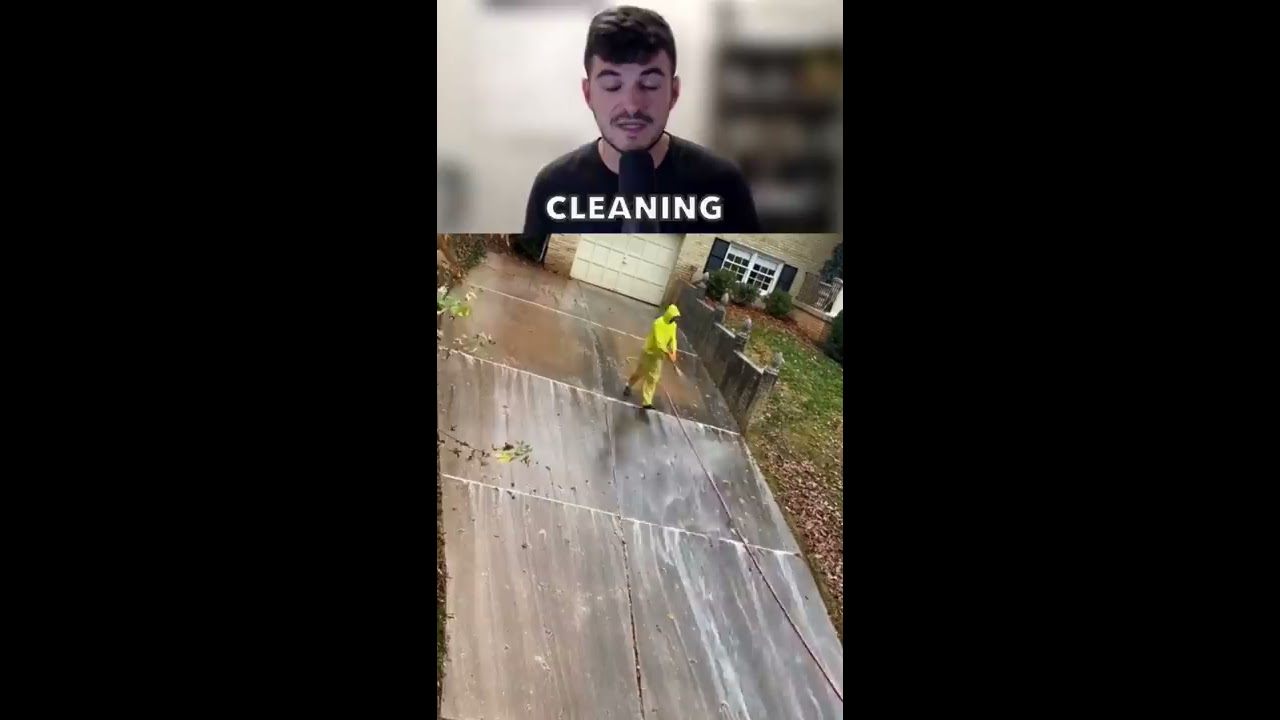


- Deep Surface Cleaning and Weed Removal: Begin by stripping away moss, lichen, and weeds embedded between the joints. Use an eco-friendly bio-detergent formulated to break down algae, followed by a variable-pressure wash. Be careful not to blast away the underlying bedding sand unnecessarily, but ensure that deteriorating joint material is fully excavated to a depth of at least 25 millimetres.
- Lifting and Re-Levelling Sunken Sections: Identify low spots where water pools or trip hazards exist. Pry up the affected pavers carefully using a flat pry bar or paver extractor. Clear out degraded bedding sand, compact the sub-base with a hand tamper, and screed a fresh layer of coarse bedding sand. Re-seat the pavers so they sit slightly proud of the surrounding surface, allowing them to settle flush when compacted.
- Refilling Joints with Modern Polymeric Sand: Once the pathway is entirely dry, sweep high-performance polymeric jointing sand across the entire surface. Modern formulations offer superior flexibility and weed resistance compared to traditional kiln-dried sand. Use a vibrating plate compactor with a protective pad or a rubber mallet to consolidate the sand deep into the joints, sweeping away all excess dust from the paver faces before misting with water to activate the binding agents.
- Applying a Protective Sealant: To defend against future organic growth and lock in surface colour, apply a breathable, penetrating sealer. Water-based penetrating sealers are standard choices, allowing moisture vapour from the subsoil to escape while creating a barrier against stains, oil, and harsh weather.
Preventative Care and Ongoing Maintenance
Once your pathway is restored, a small amount of seasonal upkeep will prevent weeds from taking root and protect the joints from premature erosion.
- Routine Sweeping: Clear away leaves, organic debris, and soil weekly to starve moss and weed seeds of nutrients.
- Surface Drainage Checks: Ensure adjoining garden beds and turf do not spill soil over the pathway edges, and check that nearby downpipes divert runoff away from the paving foundation.
- Targeted Organic Treatments: Treat shady, damp patches with a pet-safe preventative fungicide every autumn to halt algae blooms before winter sets in.
- Joint Inspections: Inspect joints twice yearly for sand loss or settling, topping up isolated areas promptly to maintain structural lock.
DIY vs. Professional Restoration
While basic cleaning and joint re-sanding are achievable weekend projects for motivated homeowners, extensive https://ipswichpressurecleaningpros.com.au/about/ levelling, large-scale root repairs, and complex heritage brickwork often require specialist intervention. Professional paving contractors in Ipswich have access to commercial-grade levelling tools, soil stabilisation materials, and specialised sealers that guarantee durable, long-lasting results. Taking the time to evaluate the scale of your pathway's structural needs ensures you achieve a safe, flawless finish that elevates your outdoor living space.
Ipswich Pressure Cleaning Pros
(07) 3278 0498